Replacing a power vent water heater involves disconnecting the old unit and installing a new one. Ensure all connections are secure.
Power vent water heaters use a fan to expel exhaust gases. This makes them more efficient and flexible in installation. They can be vented through sidewalls, unlike traditional units that vent through the roof. This flexibility allows for installation in various home locations.
Replacing a power vent water heater can improve your home’s energy efficiency. Newer models often feature advanced technology for better performance. Always follow safety guidelines and consult a professional plumber if unsure. Proper installation ensures your new water heater operates efficiently and safely.
Page Contents
Safety Precautions
Ensure the power is off and the gas supply is disconnected before replacing a power vent water heater. Always wear safety gloves and goggles to protect against potential hazards.
Turn Off Power And Gas
Always turn off the power before starting. This stops electrical accidents. Find the circuit breaker and flip the switch. Make sure the gas supply is off too. Turn the valve to close it. Check twice to be sure it is off.
Ventilation And Airflow
Proper ventilation is very important. It keeps harmful gases away. Ensure the room has good airflow. Open windows and doors if needed. Use fans to help with air circulation. Check the vent pipes for blockages. Clear any debris you find.

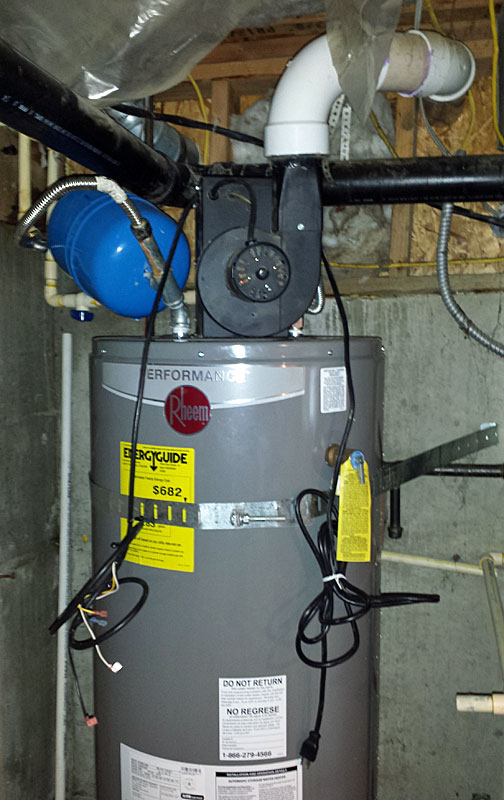
Credit: www.reddit.com
Tools And Materials
Having the right tools and materials simplifies replacing a power vent water heater. Essential items include a pipe wrench, Teflon tape, and a new vent kit.
Essential Tools
A wrench is needed for loosening and tightening nuts and bolts. A screwdriver is used for removing and attaching screws. A pipe cutter will help in cutting pipes smoothly. Always have a level to ensure your heater is straight. Pliers are useful for gripping and turning objects. A tape measure helps in getting accurate measurements.
Required Materials
| Material | Purpose |
|---|---|
| New Water Heater | The main replacement unit |
| Pipe Fittings | Connecting new pipes |
| Teflon Tape | Sealing pipe threads |
| Solder | Joining copper pipes |
| Vent Pipe | For proper ventilation |
Removing The Old Water Heater
Removing the old water heater is a crucial step in replacing a power vent water heater. Properly disconnect water and power lines before installation.
Draining The Tank
Turn off the water supply to the water heater. Attach a garden hose to the drain valve at the bottom. Run the other end of the hose to a safe drainage location. Open the drain valve and let the water flow out. This can take a few minutes. Be sure to open a hot water faucet in your home. This helps the water drain faster.
Disconnecting Power And Gas
First, turn off the power to the water heater. This means flipping the circuit breaker in your home’s electrical panel. For gas water heaters, turn off the gas supply valve. Use a wrench to disconnect the gas line. Always check for gas leaks with soapy water after disconnecting. Safety first!
Installing The New Water Heater
Replacing a power vent water heater boosts energy efficiency and ensures reliable hot water supply. Expert installation minimizes downtime and prevents potential hazards.
Positioning The New Unit
Place the new water heater close to the old one. This helps in easier connections. Make sure it stands upright. Keep it on a flat, stable surface. Leave some space around it for ventilation. Ensure it is not near flammable materials. Check that there are no obstructions around the unit. The unit should be easily accessible for maintenance. Position it near the gas and water lines for easy connection.
Connecting Gas And Water Lines
Start by connecting the water supply lines. Use flexible hoses for easy fitting. Tighten the connections securely to prevent leaks. Next, connect the gas line to the heater. Use a wrench to ensure a tight fit. Apply a gas leak detector solution to check for leaks. If bubbles appear, tighten the connection again. Finally, connect the power vent to the exhaust pipe. Ensure it is securely attached. Test all connections before using the heater.
Ventilation Setup
Begin by measuring the vent pipe. Cut it to the needed length. Attach the pipe to the heater’s vent outlet. Secure the pipe with screws. Make sure the pipe is straight. Check for any leaks.
Use clamps to hold the vent connections tight. Seal the joints with tape. Inspect the connections for gaps. Tighten the clamps if needed. Ensure all connections are secure.
Testing The Installation
Turn on the water supply slowly. Watch the connections closely. Look for any water droplets. Tighten any loose connections right away. Use a dry cloth to wipe the areas. Check again for any wet spots. Ensure there are no leaks before proceeding.
Check the vent pipes. Make sure they are securely connected. There should be no gaps or loose fittings. Verify the vent path is clear. Look for any blockages or obstructions. Proper ventilation is crucial for safe operation. Ensure the venting system follows local codes.
Maintenance Tips
Regularly replace your power vent water heater to ensure optimal performance and energy efficiency. Check for leaks and corrosion, and follow the manufacturer’s guidelines.
Regular Inspections
Regular inspections help to keep your water heater in good shape. Look for any signs of leaks or corrosion. Check the venting system to ensure it is clear and unobstructed. Make sure all connections are tight and secure. Inspect the anode rod for rust and wear.
Flushing The Tank
Flushing the tank removes sediment buildup. Turn off the power and water supply. Attach a hose to the drain valve. Open the valve and let the water flow out. Close the valve and remove the hose. Turn the water supply back on and fill the tank. Turn the power back on.

Credit: terrylove.com

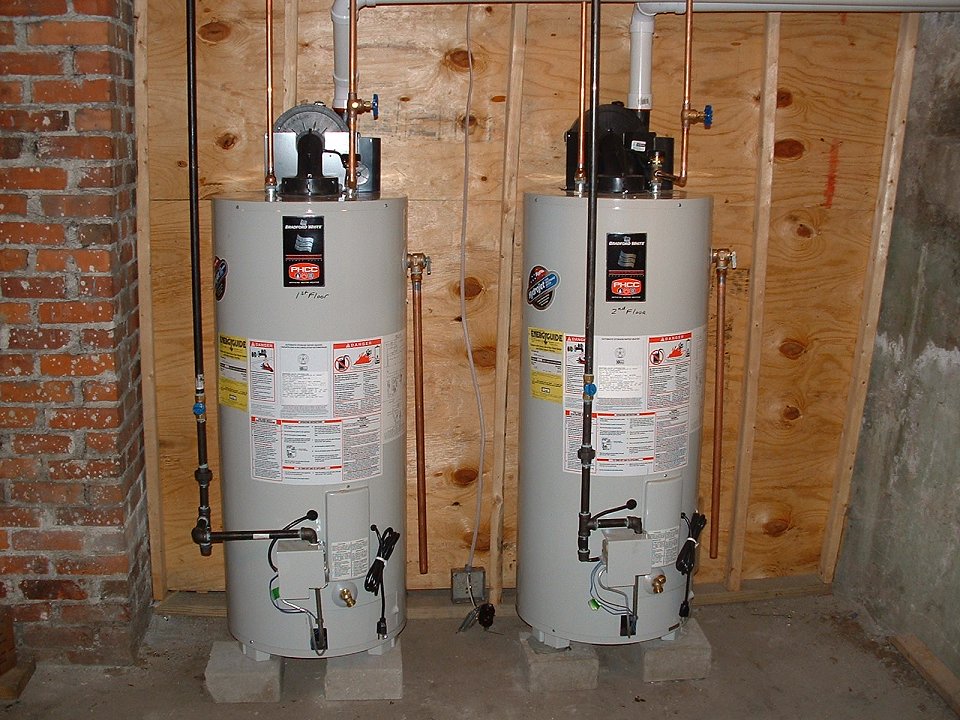
Credit: bostonwaterheaters.com
Frequently Asked Questions
What Is A Power Vent Water Heater?
A power vent water heater uses a fan to expel gases. It’s ideal for homes without a chimney. It’s efficient and easy to install.
How Long Does A Power Vent Water Heater Last?
A power vent water heater typically lasts 8-12 years. Proper maintenance can extend its lifespan. Regular inspections are recommended.
Are Power Vent Water Heaters Energy-efficient?
Yes, power vent water heaters are energy-efficient. They use less energy to expel gases. This can lower your utility bills.
Can I Install A Power Vent Water Heater Myself?
Professional installation is recommended for safety. DIY installation can lead to issues. Always consult a licensed plumber.
Conclusion
Replacing a power vent water heater can boost efficiency and lower energy costs. Proper installation ensures safety and longevity. Always consult a professional for complex tasks. Regular maintenance extends the heater’s lifespan. Invest in quality equipment for optimal performance. Enjoy consistent hot water with a well-maintained power vent water heater.
