
Have you ever found yourself shivering because your water heater stopped working? Sometimes, the problem is as simple as a pilot light that’s gone out.
Knowing how to turn on a water heater pilot light can save you time, money, and the hassle of waiting for a professional. In this guide, you’ll learn clear, step-by-step instructions to get your hot water flowing again quickly and safely.
Keep reading—you’re just moments away from fixing your water heater on your own.
Check Safety Precautions
Before you light the pilot on your water heater, safety checks are crucial. These steps protect you and your home from gas hazards. Follow each step carefully to ensure a safe process.
Turn Off Gas Supply
Start by turning off the gas supply valve. This stops gas flow while you work. It helps prevent accidental gas leaks or fires. Locate the valve near the water heater and turn it clockwise until tight.
Ventilate The Area
Open windows and doors to let fresh air in. Ventilation reduces gas buildup and lowers fire risk. Keep the area well-ventilated during the entire process. Avoid using electrical devices that may spark.
Inspect For Gas Leaks
Check for any smell of gas or hissing sounds. Use a soap and water mix on pipes and connections. Bubbles indicate a gas leak. If you find leaks, do not light the pilot. Call a professional to fix the problem first.
Credit: www.healingwithhorsesranch.org
Locate The Pilot Light Assembly
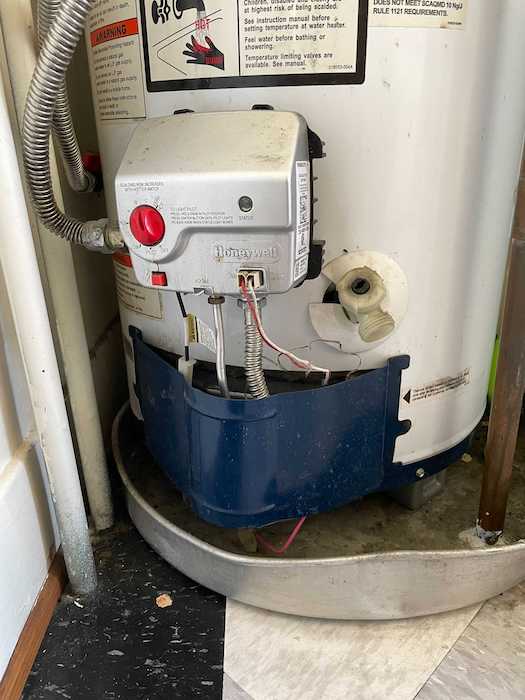
To turn on a water heater pilot light, first find the pilot light assembly. This part controls the small flame that lights the main burner. It is usually near the bottom of the heater. Knowing its exact location helps you light the pilot safely and easily.
Find The Control Valve
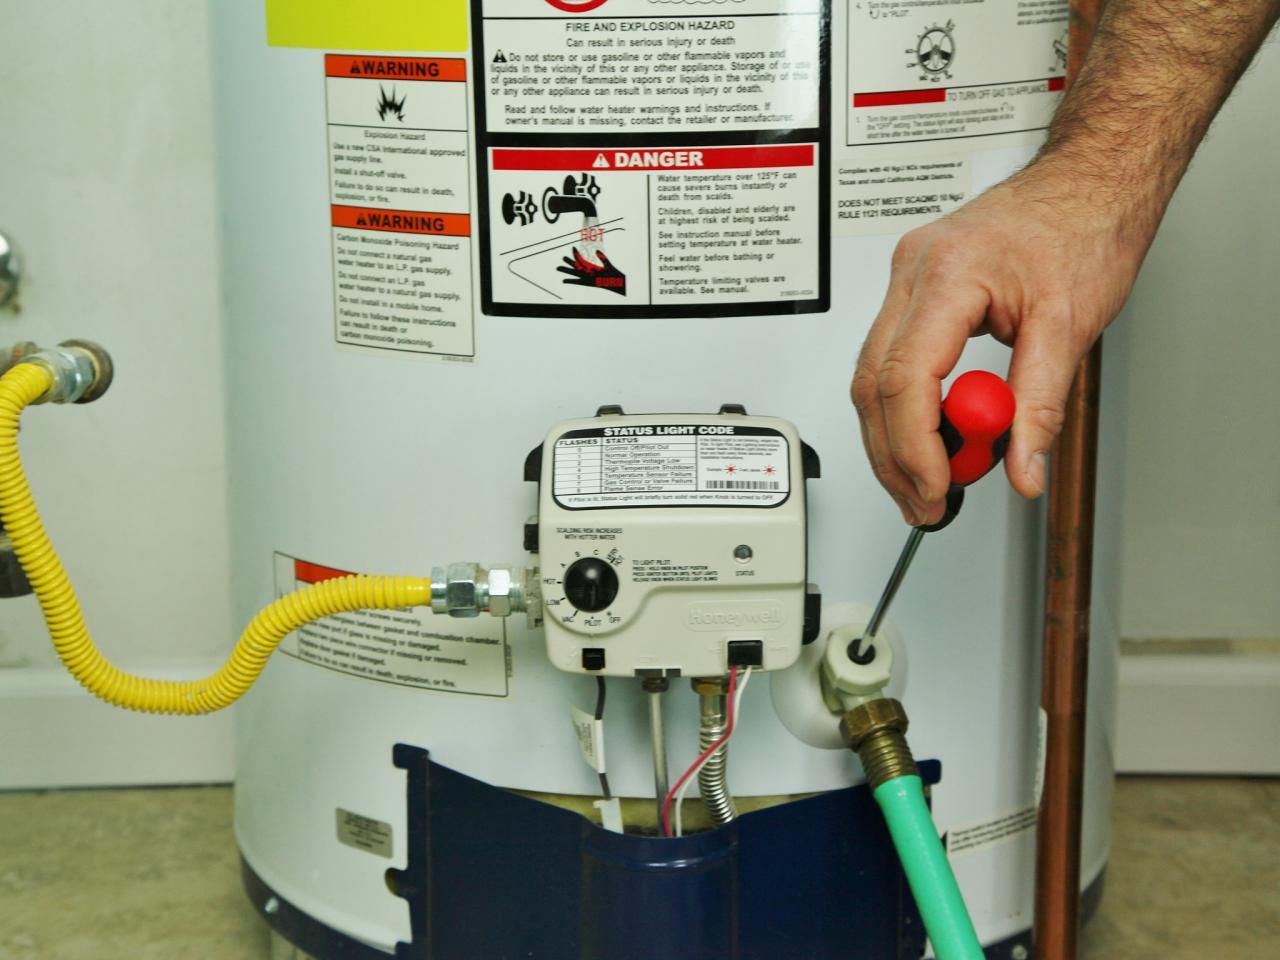
The control valve is a small knob or dial on the water heater. It controls gas flow to the pilot light and burner. This valve often has settings like “Off,” “Pilot,” and “On.” It is usually near the base of the heater, close to the gas line.
Identify The Pilot Tube
The pilot tube is a thin metal pipe that leads to the pilot light. It carries gas from the control valve to the pilot. The tube ends at the small pilot burner, where the flame burns. Spotting this tube helps you know where to light the pilot.
Prepare To Light The Pilot
Preparing to light the pilot on your water heater is a key step. It ensures safety and helps the pilot light ignite correctly. Follow each step carefully for the best results.
Set The Gas Control To Pilot
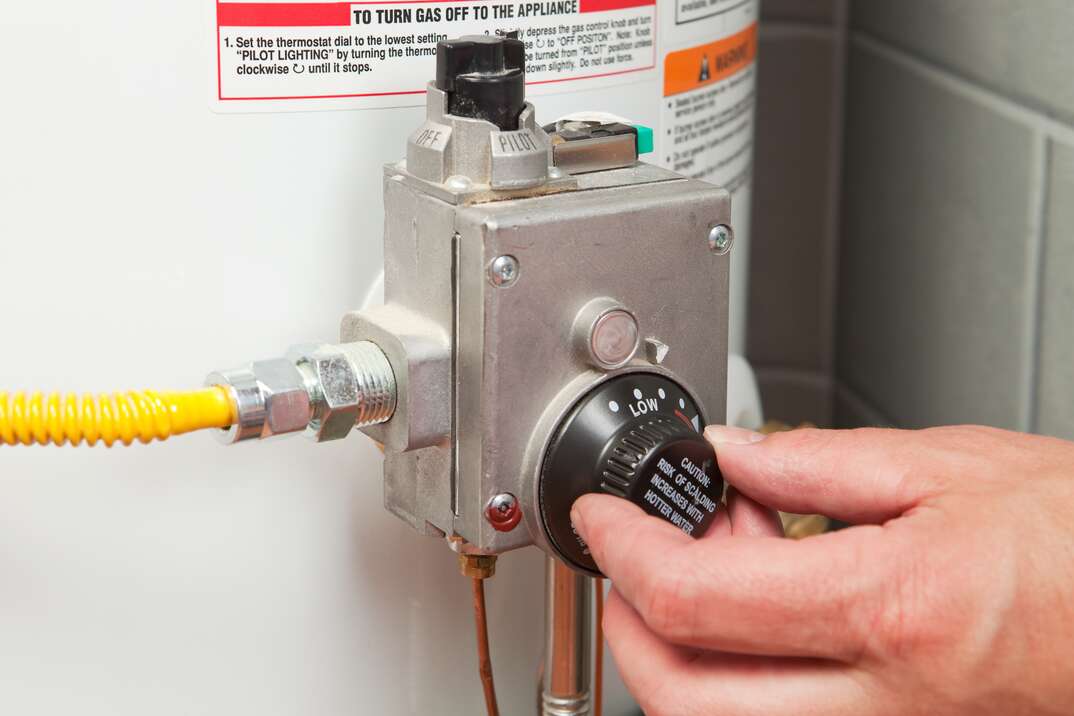
Locate the gas control knob on your water heater. Turn it to the “Pilot” position. This allows gas to flow only to the pilot light. Do not turn it to “On” yet. This step prevents gas from filling the tank prematurely.
Wait For Gas To Flow
Press and hold the gas control knob down. Hold it for about 30 seconds. This time lets gas reach the pilot light opening. Keep the knob pressed even after lighting the pilot. This ensures the flame stays lit and the heater stays safe.
Ignite The Pilot Light
Igniting the pilot light is the key step to start your water heater. This small flame keeps the gas burner ready to heat water when needed. Without it, the heater won’t work at all. The process is simple but requires attention for safety.
Use the right tools and follow the steps carefully. This part involves lighting a small gas flame inside the heater. Let’s look at how to do this safely and easily.
Use A Long Lighter Or Match
Use a long lighter or a long match to reach the pilot light opening. Avoid using short matches to keep your hand safe from the flame. Light the match or lighter before you open the pilot light access.
Hold the flame close to the pilot tube where the gas comes out. This ensures the gas will catch fire quickly. Stay steady and keep the flame near until the pilot lights.
Hold The Reset Button
Press and hold the reset button or gas control knob. This button lets gas flow to the pilot light. Keep it pressed while lighting the pilot.
Hold the button for about 30 seconds after the pilot lights. This helps the thermocouple warm up and keep the gas flowing. Slowly release the button after the flame stays lit.
Confirm The Pilot Light Is Lit
Confirming the pilot light is lit is a key step in safely turning on your water heater. This step ensures the burner will ignite and heat your water properly. A visible flame shows the pilot light is working. Without it, your water heater will not operate correctly.
Check the pilot light carefully. The flame should be steady and blue. A flickering or yellow flame means a problem. Safety first: never skip this step.
Observe The Flame
Look closely at the pilot light area. The flame must be small and steady. It should be mostly blue with a little yellow tip. A strong, steady flame means the pilot light is on.
If the flame is weak or out, the pilot light is not lit. You may need to relight it. Do not try to turn on the water heater without the pilot light.
Release The Reset Button
Once the pilot light is lit, hold the reset button down for about 30 seconds. This keeps the gas flowing to the pilot light. After 30 seconds, slowly release the button.
If the flame stays on after releasing the button, the pilot light is confirmed lit. This means the gas valve is working properly and the heater will run.
Credit: reinigungkrefeld.de
Turn On The Water Heater
Turning on your water heater is the next step after lighting the pilot light. This process helps your water heater start working and warm your water for daily use. Follow simple steps to ensure your water heater runs safely and efficiently.
Set Control To On
Locate the control knob on your water heater. It usually has three settings: Off, Pilot, and On. Turn the knob from the Pilot position to On. This action allows the heater to start heating the water. Make sure the knob clicks into place at On. If it does not, try turning it gently again. This step activates the heating system in your water heater.
Adjust Temperature Settings
Find the temperature dial near the control knob. Set the temperature to a comfortable level. The ideal setting is usually around 120 degrees Fahrenheit. This temperature saves energy and prevents scalding. Avoid setting it too high to reduce risks and save power. Adjust the dial slowly and check your water temperature after a few hours. Make small changes if needed for comfort and safety.
Troubleshooting Tips
Troubleshooting your water heater’s pilot light saves time and frustration. Some common issues stop the pilot light from working right. Knowing simple fixes helps keep your heater running smoothly. This section covers typical problems and easy solutions.
Pilot Light Won’t Stay Lit
The pilot light may light but goes out quickly. Check for drafts near the heater. Clean the pilot tube if it is dirty or blocked. A faulty thermocouple can also cause this issue. Replace the thermocouple if it is worn out or broken.
Weak Or Yellow Flame
The pilot flame should be blue and steady. A weak or yellow flame means poor gas flow or dirt. Clean the burner area gently. Ensure the gas valve is fully open. Call a professional if the flame stays yellow after cleaning.
When To Call A Professional
Some problems need expert help. Gas leaks, strong gas smells, or no gas flow require immediate attention. If you cannot light the pilot after trying, call a technician. Always prioritize safety with gas appliances.
Credit: elcengenharia.com.br
Conclusion
Turning on a water heater pilot light is simple and safe. Follow each step carefully and take your time. Always check for gas smells before starting. A steady flame means the pilot light is on. If it does not light, try again or call a professional.
Knowing this skill can save you time and money. Keep your water heater working well all year. Stay safe and confident with your home’s hot water.