To change a thermostat on a hot water heater, first turn off the power supply. Then, remove the access panel and insulation.
Changing a thermostat on a hot water heater may seem daunting, but it can be a straightforward task with the right tools and instructions. Regularly maintaining your water heater ensures it operates efficiently, providing consistent hot water for your household.
Faulty thermostats can lead to insufficient heating or overheating, which affects your comfort and potentially increases energy costs. By following a few simple steps, you can replace the thermostat and restore your water heater’s performance. This guide will help you understand the process and provide tips to ensure a smooth and successful thermostat replacement.
Page Contents
Tools And Materials Needed
Changing a thermostat on a hot water heater requires basic tools like a screwdriver, wrench, and voltage tester. Essential materials include the new thermostat and safety gloves.
Essential Tools
A screwdriver is necessary for removing the panel. Use a voltage tester to ensure safety. A multimeter helps in checking the thermostat. Wire strippers are useful for handling wires. A wrench is needed for loosening nuts.
Required Materials
Get a new thermostat that matches your heater. Use electrical tape for securing wires. Have some screws handy for reassembly. Wire nuts are essential for connections. Make sure to have a bucket to catch any water spills.
Safety Precautions
Ensure power is off before changing a thermostat on a hot water heater. Use insulated tools and wear protective gloves.
Turning Off Power
Always turn off the power before starting. This prevents electric shocks. Locate the circuit breaker and switch it off. Ensure no power is running to the heater. Use a voltage tester to double-check. Safety is the top priority. Never skip this step.
Using Protective Gear
Wear protective gear to stay safe. Use gloves to protect your hands. Safety goggles shield your eyes. Boots with rubber soles are essential. These steps help avoid injuries. Always use proper gear for any repair work.
Locating The Thermostat
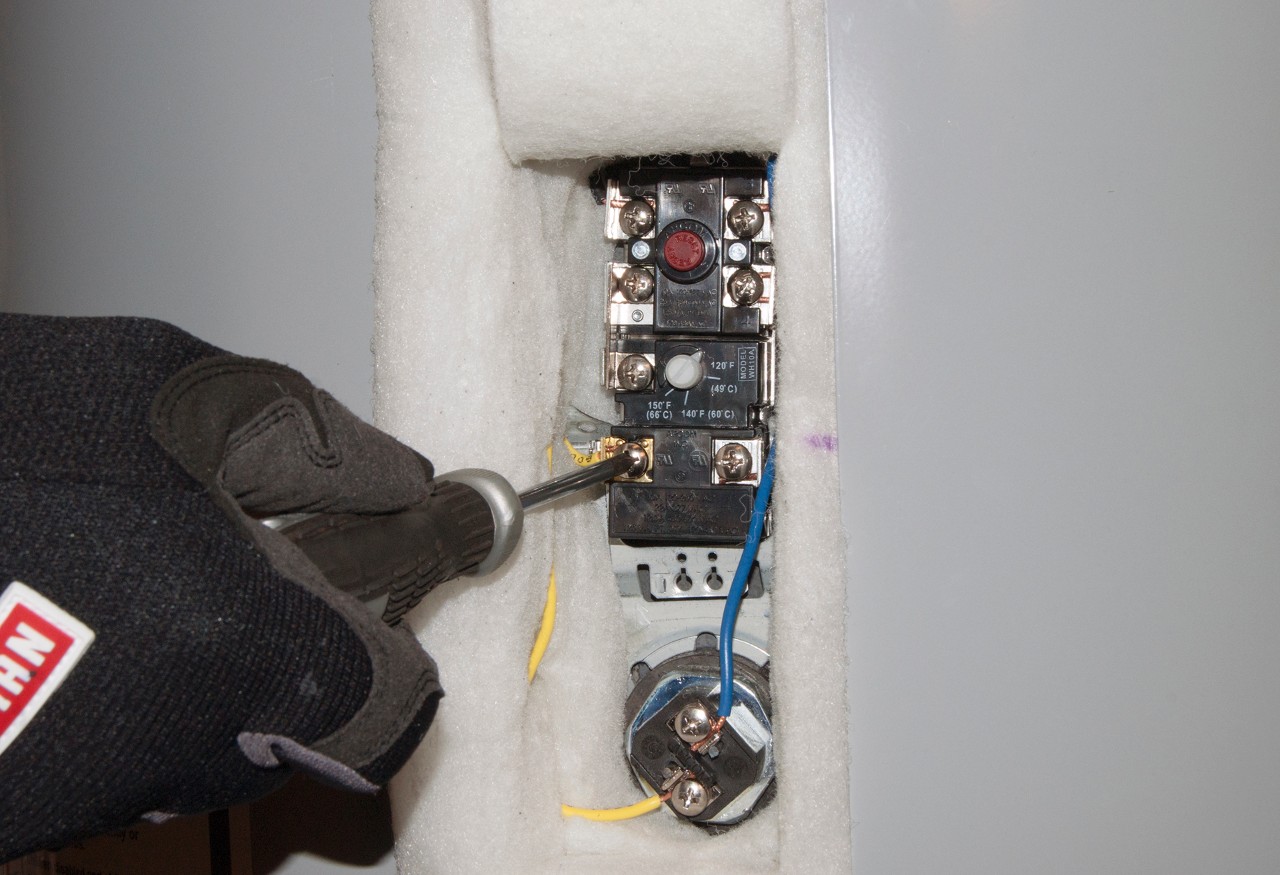
The access panel is usually on the front of the water heater. Look for a small, removable cover. Use a screwdriver to remove the screws. Keep the screws in a safe place. Gently lift the panel off. You will see wires and maybe some insulation. Be careful not to damage anything.
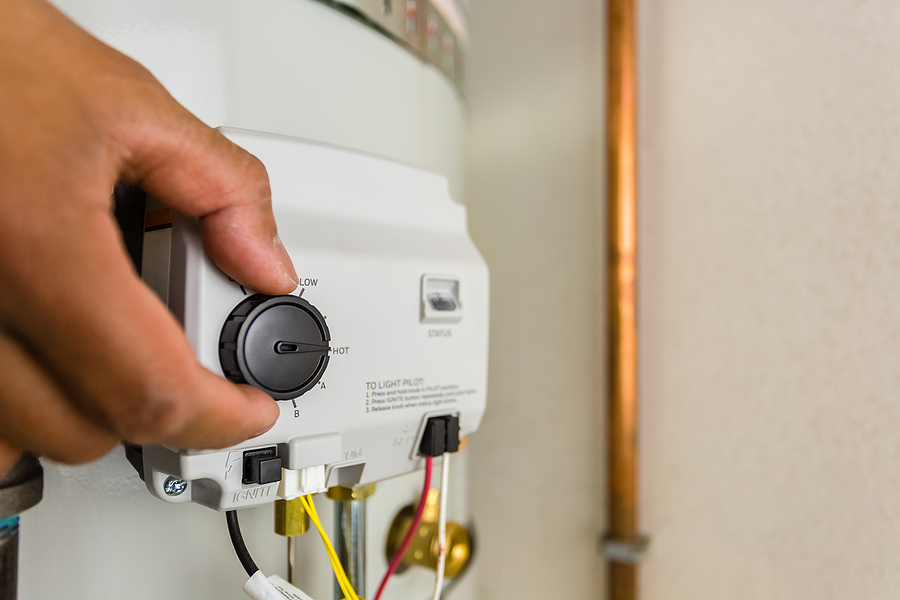
The thermostat is a small device with wires attached. It is often located near the bottom of the tank. Look for a dial or a temperature setting. The thermostat controls the water temperature. You may need a flashlight to see it clearly. Make sure the power is off before touching anything. Safety is very important.

Credit: www.ricksplumbing.com
Removing The Old Thermostat
First, turn off the power to the water heater. Locate the cover panel on the heater. Use a screwdriver to remove the screws. Carefully lift the cover off. Place the cover and screws in a safe spot.
Check the wires connected to the thermostat. Note their positions or take a photo. Use a screwdriver to loosen the wire terminals. Gently pull the wires away. Ensure no wires are touching each other.
Installing The New Thermostat
Upgrading your hot water heater’s thermostat enhances energy efficiency and ensures consistent water temperature. Safely replace the old thermostat by following a few simple steps. Enjoy reliable hot water with this straightforward DIY project.
Connecting Wires
First, make sure the power is off. Then, find the wires from the old thermostat. Connect the same wires to the new thermostat. Use wire nuts to secure the connections. Make sure the wires are tight. Loose wires can cause problems. Check each wire to ensure they are not touching each other. This will prevent any short circuits. After connecting, double-check your work.
Securing The Thermostat
Place the new thermostat in the correct spot. Use screws to attach it securely. Make sure it is not loose. A loose thermostat can cause issues. Tighten each screw properly. Check the thermostat after securing it. Make sure it is firmly in place. This will help it function well. Now, you can turn the power back on. Your new thermostat should work perfectly.

Credit: www.searspartsdirect.com
Testing The Installation
Testing the installation ensures the new thermostat on your hot water heater functions correctly. Confirm water heats to the desired temperature without fluctuations.
Restoring Power
Turn the power back on at the breaker. Make sure the breaker is set to the “On” position. Wait a few minutes for the system to power up. Listen for any unusual sounds. Check for any warning lights or error messages.
Checking Temperature Settings
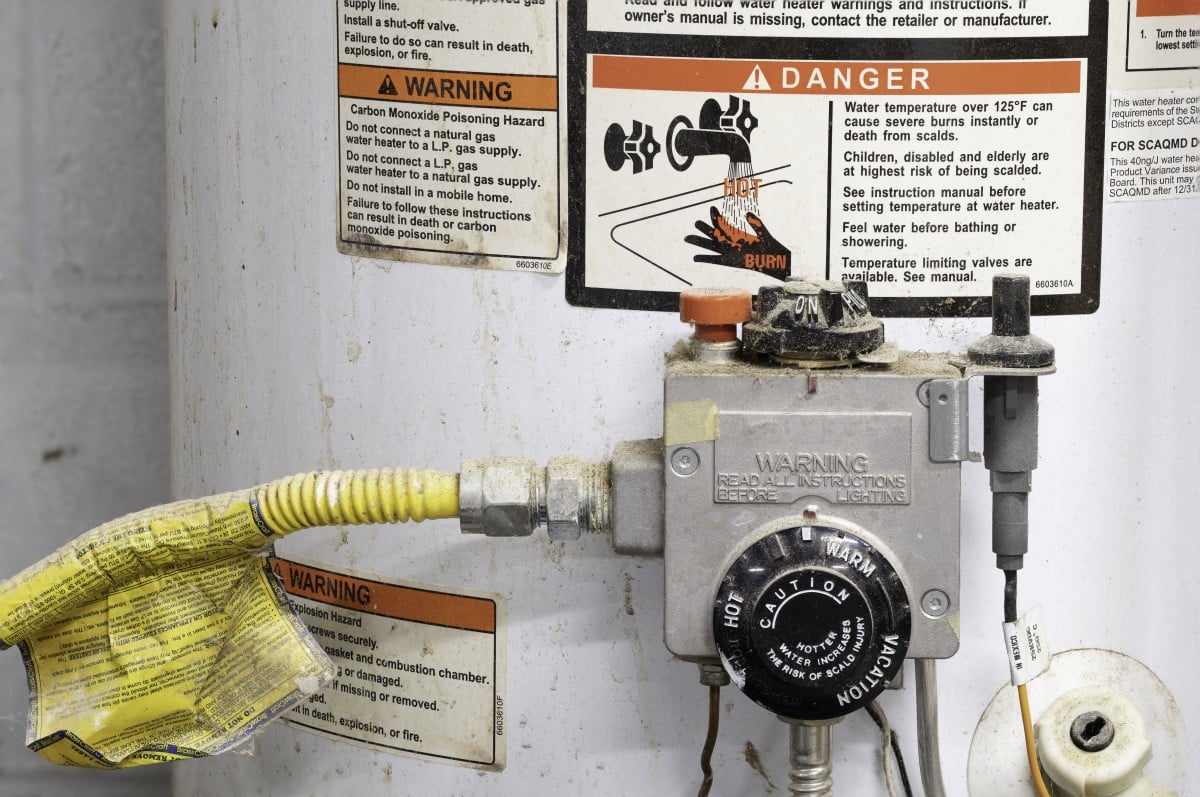
Look at the thermostat display. Set the temperature to your desired level. Most people set it between 120°F and 140°F. Ensure the thermostat holds the new setting. Monitor the water temperature over the next few hours. Adjust if necessary to keep it comfortable.
Troubleshooting Common Issues
Changing a thermostat on a hot water heater often involves addressing issues like inconsistent water temperature. Ensure power is off before starting. Use a multimeter to test the new thermostat’s functionality.
No Hot Water
If there is no hot water, the thermostat might be broken. Check the power supply to the heater. Ensure the circuit breaker is not tripped. Inspect the thermostat settings. The temperature setting should be appropriate. Also, examine the heating elements for any damage. Replace if necessary. Sometimes sediment build-up can cause problems. Clean the tank to remove any sediment. This can improve the heater’s efficiency.
Inconsistent Temperatures
Inconsistent water temperatures can be frustrating. Adjust the thermostat to the desired setting. Sometimes thermostats get worn out. Replacing the thermostat can solve the issue. Check for loose wiring connections. Secure any loose wires to ensure proper function. Insulate the hot water pipes. This can help maintain consistent temperatures. Regular maintenance is key to avoid these issues.
Maintenance Tips
Regularly changing the thermostat on a hot water heater ensures optimal performance and energy efficiency. A quick replacement can prevent costly repairs and extend the unit’s lifespan.
Regular Inspections
Regular inspections are crucial. Check your hot water heater every few months. Look for leaks and corrosion. Ensure all parts are working well. Replace any worn parts quickly. This helps avoid bigger problems. Regular checks keep your heater efficient.
Cleaning The Thermostat
Cleaning the thermostat is essential. Turn off the power first. Remove the cover carefully. Use a soft cloth to clean the thermostat. Avoid using water or chemicals. Dust and dirt can affect its performance. Clean every six months for best results. This keeps your heater running smoothly.

Credit: www.expresssewer.com
Frequently Asked Questions
How Do I Know If My Water Heater Thermostat Is Bad?
If your water heater isn’t producing hot water, the thermostat might be faulty. You may also notice inconsistent water temperatures or unusually high energy bills.
What Tools Do I Need To Change A Thermostat?
You’ll need a screwdriver, a multimeter, and a replacement thermostat. Safety gear, like gloves and goggles, is also recommended.
Can I Change A Thermostat Myself?
Yes, you can change a thermostat yourself. Ensure you follow safety guidelines and turn off the power supply before starting.
How Long Does It Take To Change A Thermostat?
Changing a thermostat typically takes about 30 to 60 minutes. This includes turning off power, removing the old thermostat, and installing the new one.
Conclusion
Replacing a thermostat on a hot water heater is a manageable task. With the right tools and steps, you can ensure efficient operation. Regular maintenance saves money and extends the heater’s life. Follow our guide to keep your home comfortable and energy-efficient.
Stay proactive in maintaining your hot water system.
