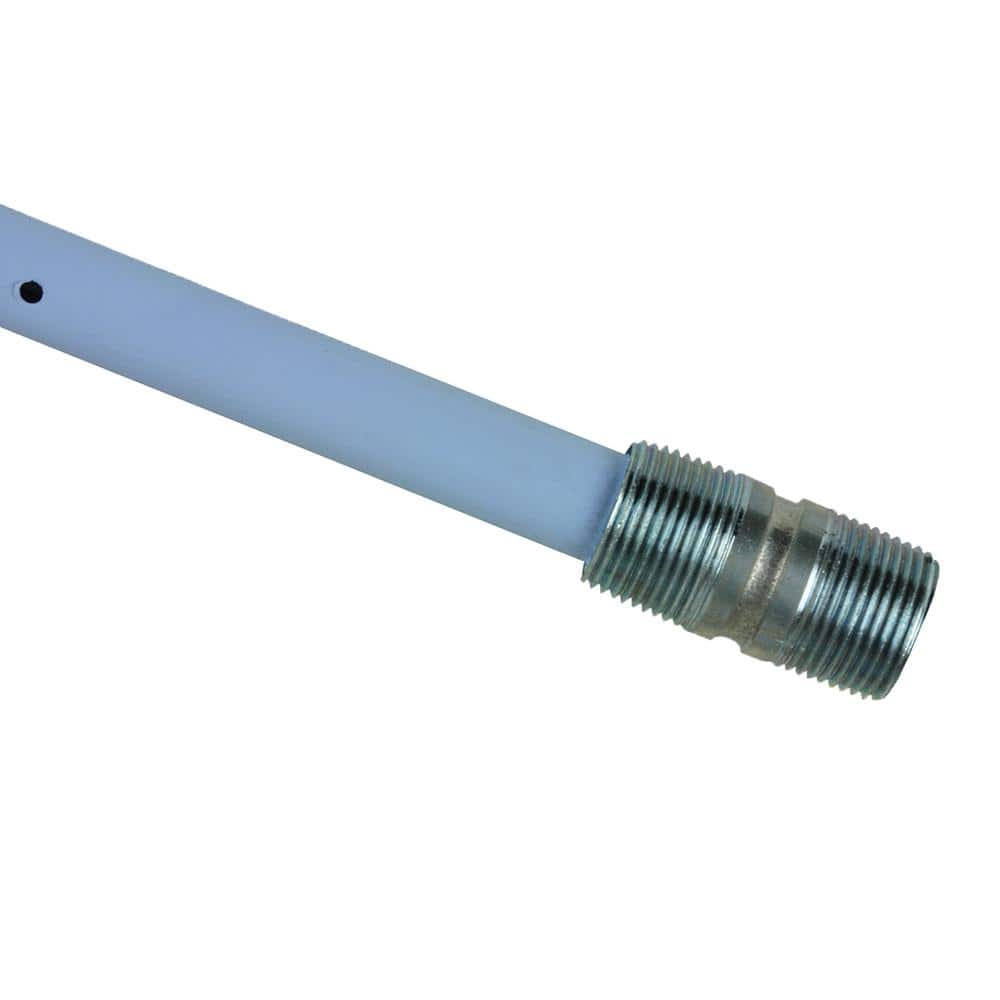
To replace the dip tube in a Rheem water heater, first turn off the power and water supply. Then, carefully remove the old dip tube and install the new one.
A dip tube is crucial for the efficient operation of your Rheem water heater. It directs cold water to the bottom of the tank, allowing hot water to rise to the top for use. Over time, dip tubes can become damaged or corroded, leading to issues like inconsistent water temperature.
Replacing a faulty dip tube is essential for restoring optimal performance. This straightforward repair can save you energy and improve hot water supply. Understanding the signs of a failing dip tube can help you address issues promptly and maintain your water heater’s efficiency.

Credit: www.homedepot.com
Page Contents
Introduction To Rheem Water Heaters
Rheem water heaters are popular for their efficiency and reliability. They use a dip tube to deliver cold water to the tank’s bottom. This helps maintain the heating process effectively.
Recognizing the dip tube’s role is vital for smooth operation. A damaged dip tube can lead to problems. Signs of dip tube failure include:
- Inconsistent hot water supply
- Discolored or rusty water
- Strange noises from the heater
- Higher energy bills
Addressing these issues promptly can save money and improve comfort.
Safety First
Turning off the power to your Rheem water heater is crucial. First, locate the circuit breaker. Switch it off to ensure safety during repairs. This prevents any electrical accidents.
Next, shut down the water supply. Find the cold water valve on the heater. Turn it clockwise until it stops. This step stops water flow and reduces leaks.
Tools And Materials
To replace the dip tube in a Rheem water heater, gather the essential tools. You will need a pipe wrench, screwdriver, and Teflon tape. A bucket helps catch water spills. Make sure to have a torch for soldering if needed.
Selecting the right dip tube is crucial. The dip tube must match your water heater model. Check the dimensions and material of the dip tube. Using the wrong part can lead to problems.
Here is a simple table of tools:
| Tool | Purpose |
|---|---|
| Pipe Wrench | To loosen and tighten pipes |
| Screwdriver | For removing screws |
| Teflon Tape | To seal connections |
| Bucket | To catch water |
| Torch | For soldering connections |
Accessing The Water Heater
Start by turning off the power and water supply to the heater. Use a garden hose to drain the tank. Connect it to the drain valve at the bottom. Open the valve and let the water flow into a bucket or outside.
Make sure to release pressure by opening a hot water tap. This helps the water drain faster. After draining, turn off the drain valve and disconnect the hose.
Next, remove the access panel on the water heater. Use a screwdriver to take out the screws. Carefully lift off the panel to expose the internal parts.
Removing The Old Dip Tube
First, turn off the power to the water heater. Next, shut off the water supply. Use a wrench to disconnect the water lines carefully. Place a bucket under the connections to catch any water.
After disconnecting, remove the old dip tube from the heater. This tube is usually made of plastic. Sometimes it can be stuck. Gently pull it out, or use pliers if needed. Check for any damage or debris in the opening.
Make sure the new dip tube fits securely. Proper installation is key for optimal performance. Ensure all connections are tight to prevent leaks.

Credit: www.youtube.com
Installing The New Dip Tube
Before starting, gather the right tools. You will need a wrench, pliers, and a new dip tube.
Turn off the water heater and let it cool. This ensures safety while working.
Remove the old dip tube carefully. Check for any signs of damage in the tank.
Place the new dip tube into the tank. Make sure it fits snugly and is straight.
To secure the dip tube, use the wrench to tighten the connection. Avoid over-tightening, which can cause damage.
Finally, check for leaks. Turn on the water heater and observe closely.
Reassembly And Testing
Reconnect the water lines carefully. Ensure the connections are tight and secure. Check for any leaks before proceeding.
Restore the power supply to the Rheem water heater. Make sure the circuit breaker is on. Next, turn on the water supply. Open the hot water taps to release air.
Inspect the system after restoring power. Look for any unusual sounds or leaks. Monitor the heater for a few hours.
Check the temperature settings and adjust if necessary. Regularly inspect the system for proper functionality.
Maintenance Tips
Regular inspections help keep your Rheem water heater running well. Check the dip tube for signs of damage. Inspect connections for leaks and corrosion. Clean the tank regularly to remove sediment build-up.
Preventive measures can extend the life of your water heater. Set a schedule for yearly maintenance checks. Flush the tank at least once a year. Ensure proper insulation around pipes to reduce heat loss.
Consider installing a water softener. This can reduce mineral build-up in your system. Always follow the manufacturer’s guidelines for best results.
Troubleshooting Common Issues
Water temperature fluctuations can be annoying. Check the thermostat settings first. Ensure they are set correctly. If the dip tube is damaged, this can cause issues. A broken dip tube may lead to hot and cold water mixing. Replace the dip tube to fix this issue.
Reduced water pressure can result from various factors. First, inspect the faucets and showerheads for clogs. Clean or replace them as needed. Check the valves for any blockages too. If the problem persists, look at the pipes for leaks or damage. Fixing these can improve water pressure.

Credit: www.homedepot.com
Professional Help Vs. Diy
Knowing when to call a professional is very important. If you feel unsure, seek help. Complex tasks often need expert skills. A professional can ensure safety and proper installation.
Benefits of DIY replacement can be great. You save money by avoiding labor costs. Completing the task yourself offers a sense of accomplishment. Learning new skills can also be rewarding.
Yet, be aware of potential risks. Improper installation can lead to damage. Always prioritize your safety and the safety of your home. Consider your experience and comfort level before starting.
Frequently Asked Questions
How Do I Know If My Dip Tube Is Broken?
You may notice inconsistent hot water supply or discolored water. These signs often indicate a broken dip tube. Additionally, if your water heater frequently runs out of hot water, it’s time to inspect the dip tube for damage or deterioration.
What Tools Do I Need To Replace A Dip Tube?
To replace a dip tube, gather basic plumbing tools. You’ll need a wrench, screwdrivers, and Teflon tape. A bucket may also help to catch any water during the replacement process. Make sure to have a replacement dip tube compatible with your Rheem water heater model.
Can I Replace The Dip Tube Myself?
Yes, replacing the dip tube is a DIY project. However, ensure you follow safety precautions. Turn off the water heater and drain the tank before starting. If you’re unsure, consult a professional plumber for assistance. This ensures proper installation and avoids potential damage.
How Much Does It Cost To Replace A Dip Tube?
The cost to replace a dip tube can vary. Parts generally range from $20 to $50, while labor may add $100 to $200. If you hire a professional, get quotes from multiple plumbers. This helps you find the best price for your specific situation.
Conclusion
Replacing the dip tube in your Rheem water heater can improve efficiency and extend its lifespan. Regular maintenance ensures optimal performance. If you’re unsure about the process, consider consulting a professional. A well-functioning water heater enhances your comfort and saves on energy costs.
Take action and enjoy reliable hot water today!
