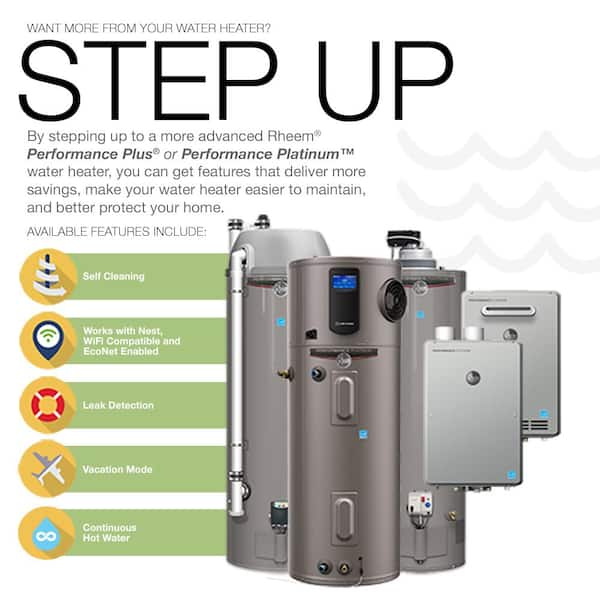
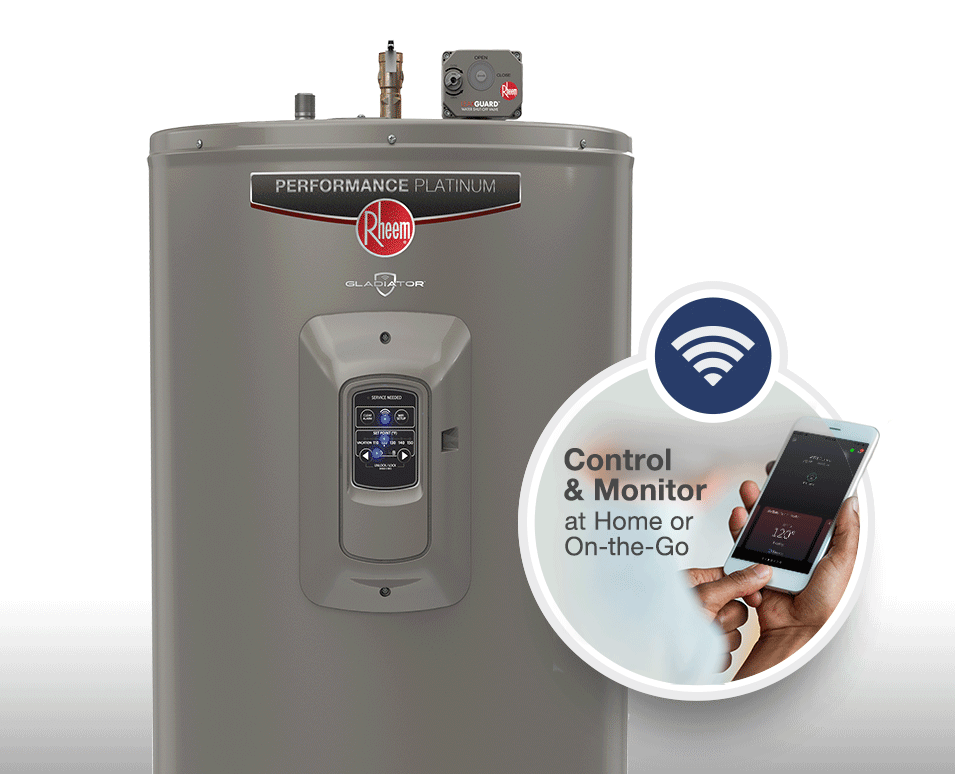
A Rheem Performance water heater leaking usually indicates a faulty valve or a damaged tank. Immediate inspection and repair are necessary.
Water heaters are essential for daily comfort, providing hot water for various household tasks. A leaking Rheem Performance water heater can disrupt this comfort and lead to water damage. Identifying the leak’s source is crucial to prevent further issues. Common causes include a faulty temperature and pressure relief valve, a loose drain valve, or corrosion within the tank.
Regular maintenance can help detect early signs of wear and tear, ensuring your water heater runs efficiently. If leaks persist, seeking professional help is advisable to avoid more severe damage and costly repairs. Regularly inspecting your water heater ensures longevity and reliability.
Page Contents
Common Causes
Leaks in Rheem Performance water heaters often stem from loose drain valves, faulty temperature and pressure relief valves, or corroded tank linings. Identifying the source early can prevent extensive damage and costly repairs. Regular maintenance is key to prolonging the heater’s lifespan.
Wear And Tear
Over time, parts of the water heater can wear out. Valves and seals may degrade. This can lead to leaks. Sediment buildup inside the tank can also cause problems. Regular maintenance can help detect these issues early.
Faulty Installation
Incorrect installation can cause leaks. Pipes and connections need to be secure. Proper alignment is crucial. If the heater is not level, it can cause stress on the tank. Make sure to follow the manufacturer’s guidelines during installation.

Credit: www.homedepot.com
Initial Checks
Check the water heater’s connections and valves for any visible leaks. Inspect the pressure relief valve for proper functioning. Ensure the drain valve is tightly closed.
Inspect For Visible Leaks
Begin by checking the area around the heater. Look for pools of water or damp spots. Ensure that the pipes and connections are dry. Examine the tank itself for any signs of rust or corrosion. A wet spot on the tank may indicate a leak.
Check Water Pressure
High water pressure can cause leaks. Use a pressure gauge to test the water pressure. The pressure should be between 40 and 60 psi. If the pressure is too high, adjust the pressure regulator. Lowering the pressure can prevent future leaks.
Tools Needed
A basic toolkit is essential. It should include a wrench, screwdriver, and pliers. A bucket and towel help clean up water. Teflon tape and pipe sealant are useful for sealing connections. Safety glasses and gloves protect you while working. A flashlight helps you see in dark areas. Adjustable wrench can fit various sizes of nuts and bolts. Pipe cutter is needed for cutting pipes.
Replacement parts might be necessary. O-rings and gaskets are common replacements. Anode rods prevent rust inside the tank. Thermocouples help control the heater’s temperature. Heating elements are crucial if your water isn’t hot. Pressure relief valves ensure safety. Hose bibbs control water flow. Dip tubes direct cold water to the bottom of the tank. Drain valves help in emptying the tank.

Credit: www.homedepot.com
Shut Off Water Supply
First, find the main water valve. It is usually near your water heater. Turn the valve clockwise to shut off the water. This stops water from entering the heater. You need to do this quickly to prevent more leaking.
Locate the drain valve at the bottom of the heater. Attach a hose to the valve. Run the hose to a nearby drain or outside. Open the valve to let water out. This removes water from the heater safely.
Fixing Loose Connections
Check all the fittings on the water heater. Use a wrench to tighten any loose connections. Be careful not to over-tighten. Over-tightening can cause damage. Tight connections help stop leaks. This is a simple fix anyone can do.
Identify any faulty valves on the unit. Turn off the water supply first. Remove the old valve carefully. Install the new valve in the same spot. Ensure it is secure and tight. Turn the water back on and check for leaks. New valves can fix many leaking issues.

Credit: www.rheem.com
Repairing Tank Leaks
Use a waterproof sealant to patch small leaks. Clean the area around the leak first. Dry the surface completely. Apply the sealant evenly over the leak. Wait for it to dry before using the heater again. Epoxy putty can be another option for patching. Follow the instructions on the package.
Replacing the tank is needed for large leaks. Turn off the power and water supply first. Drain the tank completely. Disconnect the pipes and wires connected to the tank. Remove the old tank carefully. Install the new tank in the same position. Reconnect the pipes and wires. Fill the new tank with water. Turn the power back on.
Preventive Maintenance
Preventive maintenance is crucial for avoiding leaks in Rheem Performance water heaters. Regular inspections help identify potential issues early, ensuring optimal performance and longevity.
Regular Inspections
Check for leaks around the water heater monthly. Look for any signs of rust or corrosion. Always ensure the area is dry and clean. Listen for any unusual sounds. These could be signs of a problem. Tighten any loose connections. This can prevent leaks. Keep the water heater free from dust and debris. This ensures it works efficiently.
Annual Professional Check-up
Schedule a professional inspection once a year. Experts can spot problems early. They can also clean and maintain the unit. This helps extend the heater’s life. Professionals can check the pressure relief valve. This valve is crucial for safety. An annual check-up ensures your heater runs smoothly. It also prevents unexpected issues.
When To Call A Professional
Experiencing leaks with your Rheem Performance water heater signals the need for professional assistance. Immediate intervention can prevent extensive damage and costly repairs.
Persistent Leaks
Persistent leaks mean there is a serious issue. Water dripping non-stop can cause damage. Mold and mildew can start to grow. Calling a professional is the best choice. They can find the source of the leak. This can save you money in the long run.
Complex Repairs
Some repairs need expert hands. Replacing parts or fixing the tank is tricky. Incorrect repairs can make the problem worse. Professionals have the right tools. They know how to handle complex issues. This ensures your water heater works properly.
Frequently Asked Questions
Why Is My Rheem Water Heater Leaking From The Bottom?
Your Rheem water heater may leak from the bottom due to a faulty drain valve, tank corrosion, or loose connections.
Why Is My Hot Water Tank Leaking From The Bottom?
A hot water tank leaking from the bottom may indicate a damaged tank, loose drain valve, or excessive sediment buildup.
Can I Still Use A Water Heater If It Is Leaking?
No, do not use a leaking water heater. It poses safety risks and can cause water damage.
Is A Water Heater Leaking From The Bottom An Emergency?
Yes, a water heater leaking from the bottom is an emergency. It can cause significant water damage. Turn off the water supply and call a professional immediately.
Conclusion
A leaking Rheem Performance Water Heater can cause stress and damage. Regular maintenance is key to avoiding issues. If you notice any leaks, address them promptly to ensure your water heater’s longevity. By staying proactive, you can enjoy consistent hot water without unexpected disruptions.
Keep your Rheem water heater in top condition for peace of mind.
