
Is your water heater still leaking even after you replaced the valve? That can be frustrating and confusing.
You did the work, but the problem won’t go away. If you’re wondering why the leak won’t stop and what to do next, you’re in the right place. This article will help you understand the common reasons behind persistent leaks and guide you step-by-step to find a real solution.
Keep reading—you’ll soon know exactly how to protect your home and get your water heater running smoothly again.
Page Contents
Common Causes Of Persistent Leaks
Persistent leaks in a water heater can be frustrating. Replacing the valve does not always stop the drip. Several common causes might be behind the continued leak. Understanding these issues helps you find the right fix quickly.
Faulty Valve Installation
Incorrect valve installation often causes leaks. The valve may not fit tightly. The seal might be loose or broken. Tightening the valve or using new seals can stop leaks. Sometimes, using the wrong valve size causes problems. Double-checking the installation process is essential.
Damaged Tank Or Pipes
Leaks can come from cracks in the tank or pipes. Rust or corrosion weakens metal parts over time. Small holes or fractures cause water to escape. Visual checks for damage help find the source. Replacing damaged parts may be necessary to stop leaks.
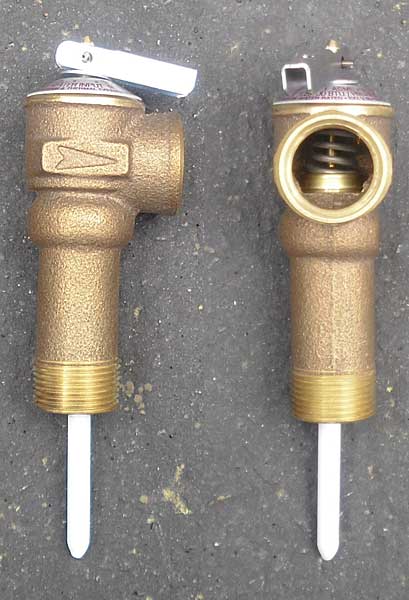
Pressure Relief Valve Issues
The pressure relief valve controls tank pressure. If it fails, water may leak out. The valve might be stuck open or broken. Testing and replacing this valve often solves leaks. Proper valve function keeps the heater safe and dry.

Credit: banemah.com
How To Inspect Your Water Heater
Inspecting your water heater helps find why it still leaks. A careful check can save time and money. Start by looking at key parts like the valve, tank, and pipe fittings. Each part can cause leaks if damaged or loose. Follow these simple steps to inspect your water heater properly.
Checking The Valve Connection
First, check the valve connection. Look for signs of water around the valve. Tighten the valve if it feels loose. Use a wrench carefully to avoid damage. If the valve still leaks, it may be faulty or installed wrong. Make sure the valve seals tightly to stop leaks.
Examining The Tank For Cracks
Next, examine the tank closely. Look for cracks or rust spots on the tank surface. Use a flashlight to see better. Small cracks can cause slow leaks. Rust weakens the tank and leads to holes. If you find cracks, the tank might need replacing soon.
Assessing Pipe Fittings
Check the pipe fittings connected to the heater. Look for loose or corroded fittings. Tighten any loose connections with a wrench. Corroded fittings may leak and should be replaced. Ensure all pipes fit tightly to prevent water escape.
Steps To Fix Ongoing Leaks
Fixing ongoing leaks in a water heater after replacing the valve requires careful steps. These steps help find the exact problem and stop water waste. Following a clear process can save time and prevent damage to your home.
Start by checking all parts connected to the valve. Then inspect for any worn or broken components. Knowing when to ask for expert help is also important for safety and efficiency.
Tightening And Sealing Connections
Loose connections often cause leaks. Use a wrench to tighten nuts around the valve. Do not overtighten as this can damage threads.
Apply plumber’s tape on threaded joints to create a tight seal. Check if washers or gaskets need replacement. These small parts stop water from escaping.
Replacing Damaged Components
Look for cracks or corrosion on pipes and fittings. Replace any parts that show wear or rust. Damaged components can keep leaking despite valve replacement.
Use parts that fit your water heater model exactly. Incorrect parts may not seal properly and cause more leaks.
When To Call A Professional
Persistent leaks after basic fixes need expert attention. A plumber can find hidden issues inside the water heater.
Professional help is safer for handling electrical or gas water heaters. Avoid risks by calling a licensed technician for complex problems.

Credit: theiideacompany.com
Preventing Future Leaks
Preventing future leaks is key to keeping your water heater working well. A leaking heater wastes water and energy. It can also cause damage to your home. Taking steps now can stop leaks before they start. These simple habits save money and stress later.
Regular Maintenance Tips
Check your water heater every few months. Look for signs of rust or corrosion. Flush the tank to remove sediment. Sediment buildup can cause leaks and reduce heater life. Tighten any loose fittings. Clean around the valve area to spot leaks early. Schedule a professional inspection yearly.
Monitoring Water Pressure
High water pressure strains the heater and valves. Use a pressure gauge to check your home’s water pressure. Ideal pressure is between 40 and 60 psi. Install a pressure regulator if pressure is too high. This reduces stress on the valve and pipes. Watch for sudden pressure changes that might cause leaks.
Using Quality Replacement Parts
Always use parts made for your water heater model. Cheap or wrong parts can fail quickly. Choose valves and fittings from trusted brands. Quality parts create a tight seal and last longer. Check parts for damage before installation. Proper parts reduce leak risks and improve heater safety.
Credit: www.olivelaneeventdecor.co.za
Conclusion
A leaking water heater after valve replacement needs attention. Check all connections and seals carefully. Sometimes the leak comes from other parts. Tighten fittings and inspect the tank for cracks. If the problem stays, call a professional plumber. Fixing leaks early saves money and avoids damage.
Keep your home safe and dry. Don’t ignore small drips; they can grow worse. Stay alert and act fast to protect your water heater.