
To set up WiFi on your Rinnai tankless water heater, download the Rinnai Control-R app and follow the on-screen instructions. Ensure your heater and smartphone are on the same network.
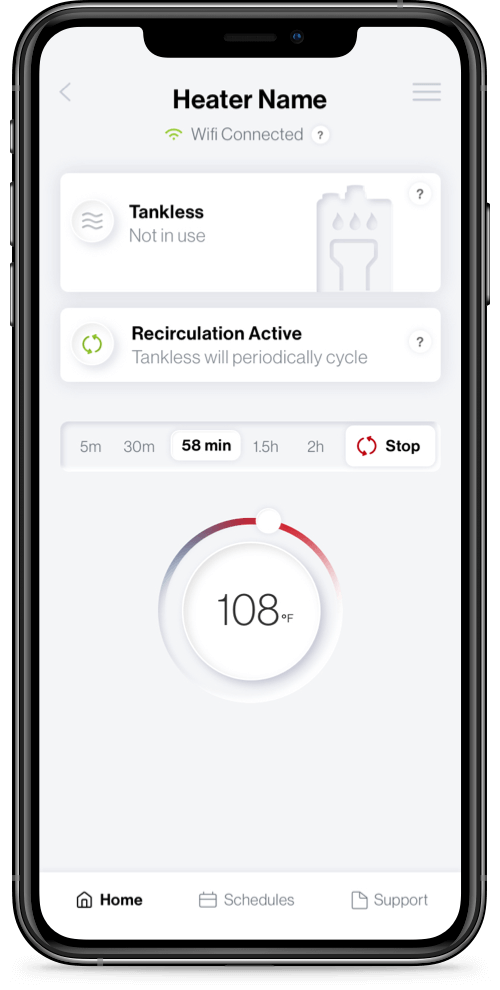
Rinnai tankless water heaters offer a smart, energy-efficient solution for endless hot water supply. Integrating WiFi connectivity enhances user convenience and control. The Rinnai Control-R app allows you to manage temperature settings, monitor system performance, and receive maintenance alerts, all from your smartphone.
Proper setup ensures you maximize these benefits. This user-friendly feature can save you time and effort, making your water heating system more efficient. Read on to learn the precise steps for a seamless WiFi setup.
Page Contents
Prerequisites
Ensure a stable Wi-Fi connection and the latest Rinnai app installed. Verify the heater’s compatibility with Wi-Fi features.
Necessary Tools And Equipment
You need a screwdriver and drill. Get mounting brackets and screws. A WiFi router is required. Ensure a smartphone or tablet is handy. Download the Rinnai app from the app store.
Understanding Your Home Network
Your home network must be secure. The WiFi signal should be strong near the heater. Ensure the router is compatible with 2.4 GHz. The network name (SSID) and password should be known. Place the router in a central location for better signal. Ensure the firewall settings allow device connections.
Unboxing And Initial Setup
Unboxing the Rinnai Tankless Water Heater reveals a sleek, modern unit. Setting up the WiFi connection is straightforward, enhancing control and efficiency.
Inspecting The Components
Open the box carefully. Check the heater and accessories. Ensure all parts are in the box. Look for the user manual and installation guide. Verify the wifi module is included.
Inspect the heater for any damage. Confirm all screws and bolts are present. Check for the remote control and batteries. Make sure the power cord is intact. All parts should be in good condition.
Mounting The Heater
Find a suitable spot on the wall. The location should be near water lines. Use a level to mark the mounting points. Drill holes for the mounting brackets. Attach the brackets to the wall. Lift the heater onto the brackets.
Secure the heater with screws. Double-check the heater is level and stable. Connect the water inlet and outlet pipes. Tighten all connections securely. Plug in the power cord.
Connecting To Power And Water Supply
Make sure the power is off. Connect the power cable to the heater. Use a voltage tester to verify no power. Attach the ground wire securely. Connect the black and white wires to the terminal block. Use wire nuts to secure connections. Turn the power on and check for proper function.
Turn off the main water supply. Connect the cold water line to the heater’s inlet. Attach the hot water line to the outlet. Use Teflon tape on the threads to prevent leaks. Tighten the connections using a wrench. Turn on the water supply and check for leaks. Ensure all connections are secure and tight.
Need Local Help?
Fast, Reliable Water Heater Service
Whether it’s installation, repair, or replacement, connect with a trusted local expert today. From fixing leaks and heating issues, we’ve got you covered.
Simply choose your service type in the form, share your details, and a certified water heater specialist will contact you shortly!
Smart Water Source is an informational platform that helps users connect with local plumbers. We do not directly provide plumbing services or operate as a licensed contractor.
Wifi Module Installation
Easily upgrade your Rinnai tankless water heater with a WiFi module. Enjoy remote temperature control and monitoring for enhanced convenience.
Attaching The Wifi Module
First, locate the access panel on the water heater. Remove the panel to expose the internal components. Find the designated port for the wifi module. Carefully insert the module into the port until it clicks. Ensure it is securely attached to avoid connectivity issues.
Powering Up The Device
After attaching the wifi module, replace the access panel. Plug the water heater into a power outlet. Switch on the power to the heater. The wifi module’s indicator light should turn on. This means it is ready for wifi setup.
Configuring Wifi Settings
First, search for the Rinnai app on your smartphone’s app store. Download and install the app. Open the app and create an account. Use a strong password for security. Follow the on-screen instructions carefully.
Open the Rinnai app on your phone. Go to the settings menu. Select Wifi setup. Choose your home network from the list. Enter your network password. Wait for the confirmation message. Your water heater is now connected to the internet.
Pairing And Testing
Download the Rinnai app from the app store. Open the app and create an account. Press the Wi-Fi button on your water heater. The app will search for nearby devices. Select your water heater from the list.
Enter your Wi-Fi network name and password. Wait for the device to connect to the network. A green light will indicate a successful connection. Your heater is now paired with the app.
Open the app on your phone. Go to the settings menu. Find the test option and select it. The app will run a series of tests. These tests check the heater’s temperature and water flow. Watch for any error messages. If all tests pass, your heater is ready to use. Adjust settings if needed for optimal performance.
Troubleshooting Common Issues
Check if your Wifi signal is strong. Move the router closer to the heater. Ensure the heater is in pairing mode. Restart the heater and router. Re-enter the Wifi password if needed. Verify the app is up to date.
Error codes help identify issues quickly. Refer to the user manual for each code. Some common codes include:
| Error Code | Solution |
|---|---|
| E1 | Check gas supply and venting system. |
| E2 | Ensure water flow rate is sufficient. |
| E3 | Verify electrical connections. |
Credit: www.rinnai.us
Maintenance Tips
Keep your water heater’s software updated. Updates improve performance and security. Check for updates every month. Connect your heater to WiFi for automatic updates. Follow the instructions in the user manual for updates. Always restart the heater after an update. This ensures the changes take effect.
Clean the water filter regularly. A dirty filter can affect performance. Use a soft brush to remove debris. Descale the heater every six months. This prevents mineral buildup. Follow the manufacturer’s guidelines for descaling. Check the air vents for blockages. Clear any dust or debris from the vents. Inspect the pipes and connections for leaks. Tighten any loose connections.

Credit: www.bigfrogsupply.com
Frequently Asked Questions
What Does The Rinnai Wifi Module Do?
The Rinnai wifi module allows you to control your Rinnai tankless water heater remotely. It offers convenience, energy savings, and system monitoring through a mobile app.
How To Reconnect Rinnai Water Heater To Wifi?
To reconnect your Rinnai water heater to WiFi, open the Control-R™ app. Select “Settings,” then “WiFi Setup. ” Follow the on-screen instructions to complete the process.
How Do I Reset My Rinnai Tankless Water Heater Wifi?
To reset your Rinnai tankless water heater WIFI, press and hold the Connect button for 10 seconds. The WIFI indicator will blink rapidly, indicating a successful reset. Ensure your device reconnects to the network.
Does Rinnai Have An App?
Yes, Rinnai has an app. The Rinnai Control-R™ app allows users to control their water heaters remotely.
Conclusion
Setting up your Rinnai tankless water heater with WiFi is simple and convenient. Follow the steps for seamless integration. Enjoy remote control, increased efficiency, and peace of mind. Embrace smart technology and enhance your home’s comfort. Keep your system updated for optimal performance.
Enjoy the benefits of modern water heating solutions.