
To replace the thermocouple in a GE water heater, first, turn off the power and gas supply. Next, unscrew the old thermocouple and install the new one securely.
Thermocouples play a crucial role in the operation of gas water heaters. They sense the temperature and ensure the pilot light stays lit, preventing gas leaks. Over time, thermocouples can wear out, leading to malfunctioning heaters. Replacing a faulty thermocouple is essential for safety and efficiency.
This simple task can save you money on repairs and ensure a steady supply of hot water. DIY enthusiasts can tackle this job with basic tools, but safety precautions are paramount. Understanding the steps involved can help you confidently restore your water heater’s functionality.

Credit: www.youtube.com
Page Contents
- 1 Introduction To Thermocouple Replacement
- 2 Identifying Your Ge Water Heater Model
- 3 Tools And Materials Required
- 4 Shutting Down The Water Heater
- 5 Removing The Old Thermocouple
- 6 Installing The New Thermocouple
- 7 Testing The Installation
- 8 Troubleshooting Common Issues
- 9 Maintenance Tips For Longevity
- 10 Conclusion And Final Thoughts
- 11 Frequently Asked Questions
- 12 Conclusion
Introduction To Thermocouple Replacement
Replacing a thermocouple in a GE water heater is important. A faulty thermocouple can stop the heater from working. Recognizing the signs of a bad thermocouple is crucial.
- No hot water after the heater is turned on.
- The pilot light keeps going out.
- Strange clicking sounds when trying to ignite.
Safety is key before starting any repair. Turn off the power and gas supply. Allow the water heater to cool down completely. Wear protective gear like gloves and goggles. Always have a fire extinguisher nearby. This ensures a safe working environment.

Credit: www.amazon.com
Identifying Your Ge Water Heater Model
Finding the model number of your GE water heater is easy. Look at the front panel or side of the unit. The number can also be on the label near the bottom. This number helps identify your heater’s specifications.
Each GE water heater has unique specifications. They include capacity, energy source, and temperature settings. Knowing these details is important for replacements and repairs. The model number can help find the right thermocouple for your heater.
Check the owner’s manual for more details. You can also visit the GE website for specific information about your model.
Tools And Materials Required
To replace the thermocouple in a GE water heater, gather the right tools. You will need:
- Socket Wrench – for removing bolts.
- Screwdriver – for tightening screws.
- Multimeter – to test electrical connections.
- Adjustable Pliers – for gripping and turning.
- Teflon Tape – to seal connections.
Choose the correct thermocouple based on your heater model. The right one ensures proper function. Check the specifications before purchasing.
Shutting Down The Water Heater
To shut down your water heater, first turn off the gas supply. Locate the gas valve near the heater. Turn it to the off position to stop gas flow. Wait for a few minutes to ensure it is completely off.
Next, prepare to drain the water heater. Turn off the cold water supply valve at the top. Connect a garden hose to the drain valve. Place the other end in a bucket or outside.
Open the drain valve slowly. This allows the water to flow out. Be careful, as the water may be very hot. Keep an eye on the bucket or hose to avoid spills.
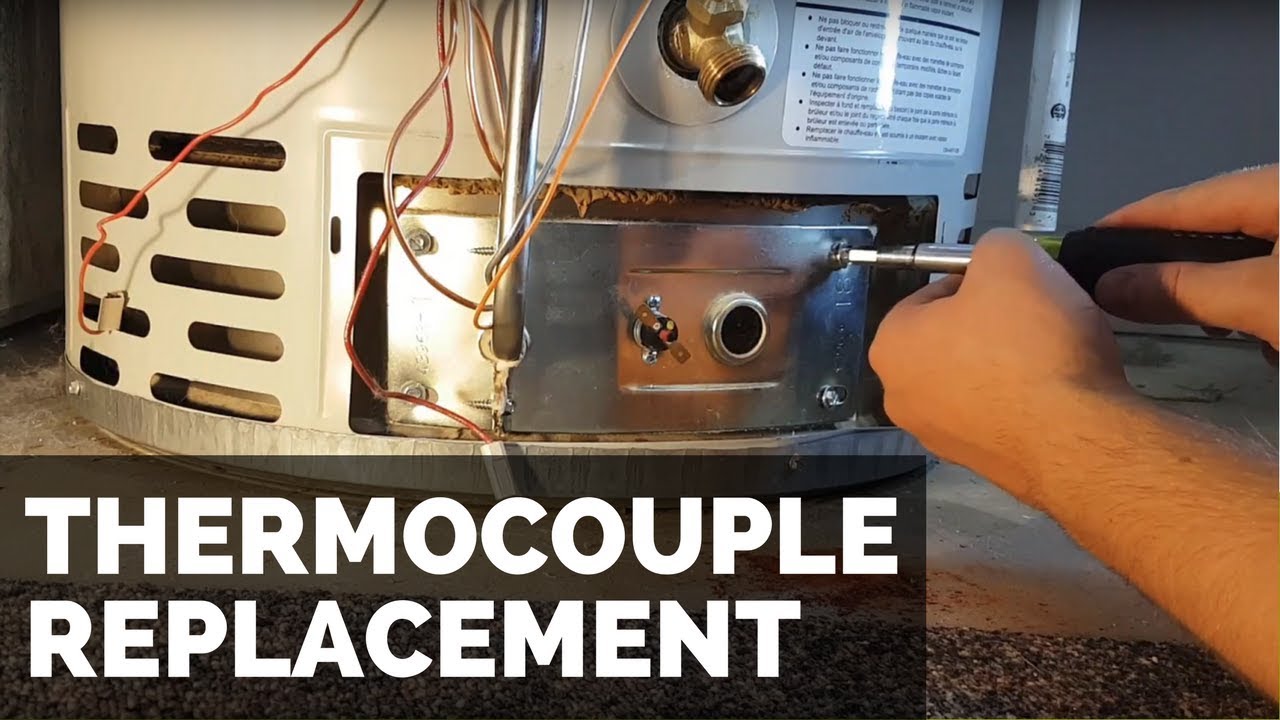
Removing The Old Thermocouple
Start by turning off the gas supply to the water heater. Wait until the unit is cool before touching it. Next, find the burner assembly. It is usually located at the bottom of the heater. Remove any screws or covers that block access.
Carefully detach the wires connected to the thermocouple. Remember to note where each wire goes. Gently pull the thermocouple from its mounting. Avoid using too much force to prevent damage. Always handle the parts with care.
Before replacing the thermocouple, ensure that the new part matches the old one. Check for the correct length and size. Follow the same steps in reverse to install the new thermocouple safely.
Installing The New Thermocouple
Begin by positioning the new thermocouple in the correct spot. Ensure it sits snugly against the burner assembly. This helps it measure temperature accurately.
Next, use the screws to secure the thermocouple tightly. Check that it is not loose. A tight fit ensures proper function.
After securing, carefully reassemble the burner assembly. Place all parts back in their original position. Make sure everything aligns well.
Finally, test the water heater to ensure it works properly. Look for any unusual noises or leaks. This confirms successful installation.
Testing The Installation
To relight the pilot light on your GE water heater, follow these steps. First, locate the gas control knob. Turn it to the OFF position and wait for a few minutes. This helps clear any gas. Next, switch the knob to PILOT. Press and hold the reset button while lighting the pilot. Use a long lighter or match for safety.
Keep holding the button for about 30 seconds. This allows the thermocouple to heat up. If the pilot light stays lit, release the button. Turn the knob to the ON position. Make sure the flame is steady and blue. A yellow flame means it needs adjustment.
After relighting, check for proper operation. Ensure the water heater heats water efficiently. Listen for any unusual sounds. Check for gas leaks around the connections.
Credit: www.youtube.com
Troubleshooting Common Issues
Sometimes, the pilot won’t light even after replacing the thermocouple. Check the gas supply first. Make sure it is turned on. If the gas is fine, inspect the thermocouple connections. Ensure they are tight and secure.
For a weak flame, adjust the thermocouple’s position. It should be close to the pilot flame. This allows it to heat properly. If the flame is still weak, clean the pilot orifice. Dirt can block the gas flow and reduce the flame’s strength.
Test the thermocouple with a multimeter. It should show a reading of at least 20 millivolts. If not, consider replacing it again. Regular maintenance can prevent these issues.
Maintenance Tips For Longevity
Regular inspections help keep your GE water heater running smoothly. Check the thermocouple every few months. Look for signs of wear or damage. Clean any dust or debris around the unit. This simple step can extend its life.
Calling a professional is important for major issues. Strange noises or inconsistent heating may signal problems. A professional can safely replace parts like the thermocouple. They have the right tools and knowledge for the job.
| Signs to Call a Professional |
|---|
| Unusual noises from the heater |
| Water is not heating properly |
| Frequent pilot light outages |
| Leaks around the unit |
Conclusion And Final Thoughts
Replacing the thermocouple in your GE water heater can save money. Follow these steps:
- Turn off the gas supply to the heater.
- Remove the access panel carefully.
- Disconnect the old thermocouple from the pilot light assembly.
- Install the new thermocouple securely.
- Reattach the access panel and turn on the gas.
DIY repairs can be a rewarding experience. You gain skills and save money. Professional repairs ensure safety and expertise. Choose based on your comfort level and the complexity of the task.
Both options have their benefits. Weigh the costs and your ability before deciding.
Frequently Asked Questions
How Do I Know If My Thermocouple Is Bad?
If your water heater isn’t producing hot water, a faulty thermocouple might be the issue. Look for signs like the pilot light going out repeatedly. Additionally, check for corrosion or damage to the thermocouple. Testing it with a multimeter can also confirm whether it’s functioning properly.
What Tools Are Needed To Replace A Thermocouple?
To replace a thermocouple, gather a wrench, screwdriver, and a multimeter. A flashlight can help you see better in tight spaces. You may also need pipe tape for sealing. Having these tools ready will make your replacement process smoother and more efficient.
Can I Replace The Thermocouple Myself?
Yes, you can replace the thermocouple yourself if you’re comfortable with basic plumbing tasks. Ensure you turn off the gas and power supply first. Follow the manufacturer’s instructions for specific guidance. However, if you’re unsure, it’s always best to consult a professional for safety.
How Long Does It Take To Replace A Thermocouple?
Replacing a thermocouple typically takes about 30 minutes to an hour. The exact time depends on your experience and the accessibility of the parts. Once you gather the necessary tools, the process is straightforward. Make sure to follow safety precautions throughout the procedure.
Conclusion
Replacing the thermocouple in your GE water heater is essential for optimal performance. A functioning thermocouple ensures safety and efficiency. Regular maintenance can prevent future issues. Follow the steps outlined in this guide for a successful replacement. Enjoy consistent hot water and peace of mind knowing your system is working properly.