
Are you tired of running out of hot water during your morning shower? Installing an Atmor water heater might just be the solution you need.
Imagine stepping into a shower that never runs cold or washing your dishes with a consistent stream of hot water. With the right installation, this could be your reality. We know the thought of installing a new water heater can feel daunting, but we’re here to help you navigate the process with ease.
By the end of this article, you’ll understand the steps involved and feel confident about setting up your Atmor water heater, ensuring you never have to dread a cold shower again. Stay with us, and let’s transform your home’s water heating system together.
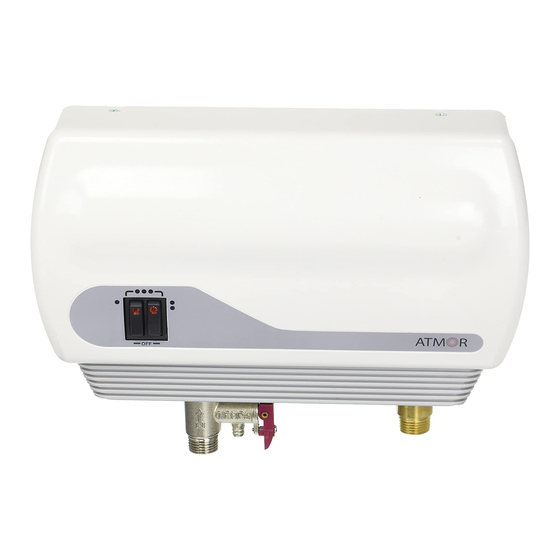
Credit: www.manualslib.com
Page Contents
Choosing The Right Atmor Water Heater
Installing an Atmor water heater can enhance your home’s efficiency. Consider the size, power, and your water needs. Ensure professional installation for safety and performance.
Choosing the right Atmor water heater can make a significant difference in your home’s comfort and efficiency. With numerous models available, it’s essential to find one that fits your specific needs. Investing time in choosing the right model can save you money and energy in the long run. Here’s how to make an informed choice.Assessing Your Hot Water Needs
Start by evaluating how much hot water your household consumes daily. Do you have a large family with everyone showering in the morning? Or do you live alone with minimal hot water usage? Consider the number of bathrooms and kitchen appliances that use hot water. Take note of peak usage times and plan accordingly. Understanding your hot water needs helps in deciding the capacity of your new Atmor water heater. This ensures you have a consistent supply without unnecessary waste.Selecting The Appropriate Model
Once you know your hot water needs, it’s time to choose the right model. Atmor offers a range of options suited for different requirements. Check the specifications of each model. Look for features like energy efficiency, size, and ease of installation. Read reviews and user experiences to gauge reliability and performance. Sometimes, a model that worked for a friend might not be the best fit for your home. When I installed my Atmor water heater, I chose a model with a digital temperature control feature. It allowed me to adjust the temperature easily, which was crucial during our cold winters. What features are essential for you? Make a list and prioritize them to guide your decision. By taking these steps, you’ll ensure that your Atmor water heater not only meets your current needs but is also a smart investment for the future.
Credit: www.garageappeal.com
Gathering Necessary Tools And Materials
Embarking on the installation of an Atmor water heater can be a satisfying DIY project, but it begins with gathering the right tools and materials. Without the proper equipment, even the most straightforward task can become frustrating. Having everything ready not only saves time but also ensures the process runs smoothly.
List Of Required Tools
- Screwdriver Set:A versatile set will help you manage different types of screws, which are common in water heater installations.
- Adjustable Wrench:This tool is crucial for tightening or loosening the nuts and bolts that hold your water heater in place.
- Drill:Whether you’re mounting the heater or making connections, a drill simplifies the process greatly.
- Level:Ensuring your heater is level is essential for proper operation.
- Measuring Tape:Accurate measurements prevent installation mishaps.
Each of these tools plays a pivotal role. You might recall the satisfaction of assembling a piece of furniture with the right tools; the same principle applies here.
Essential Installation Materials
- Mounting Brackets:These secure the heater to the wall, supporting its weight and ensuring stability.
- Plumbing Tape:This tape is essential for sealing pipe connections, preventing leaks.
- Flexible Water Hoses:These connect your water heater to the existing plumbing system, allowing for easy water flow.
- Electrical Wire:If your heater is electric, you’ll need the appropriate gauge wire for connections.
- Wall Anchors:These provide additional support for your mounting brackets, especially on drywall.
Have you ever had to make a last-minute run to the hardware store? Gathering these materials beforehand avoids that stress. Plus, it gives you the confidence to tackle the project head-on.
Are you ready to start your installation with all the essentials in hand? Taking a moment now to gather the right tools and materials can make all the difference in your DIY journey.
Preparing The Installation Area
Ensure a smooth installation of your Atmor water heater by preparing the area properly. Clear the space of any obstacles and verify the availability of necessary tools. Check that the wall is strong enough to support the unit’s weight.
Preparing the installation area for your Atmor water heater is crucial for a successful setup. A well-organized space not only streamlines the installation process but also ensures that the heater functions optimally. As you get ready to install, consider how the placement affects accessibility and efficiency. Imagine having to navigate a cramped area every time you need to adjust settings or perform maintenance. Ensuring the area is primed for installation can save you from headaches down the road.Ensuring Proper Ventilation
Proper ventilation is essential for the safe and efficient operation of your water heater. Without it, you risk overheating and potential damage. Think about how air moves in and out of your chosen space. Is there enough room for air circulation? Make sure vents or windows are unobstructed. If your installation area lacks natural ventilation, consider installing exhaust fans. Adequate airflow not only prolongs the life of your heater but also ensures safety.Clearing The Installation Space
A cluttered installation space can complicate the process and lead to mistakes. Take a moment to clear the area of any unnecessary items. Consider how much easier the installation will be without tripping over tools or squeezing around boxes. Place all essential materials and tools within easy reach. A neat space helps you focus on the task at hand and reduces stress. You might even find that cleaning the area gives you a clearer perspective on the installation process.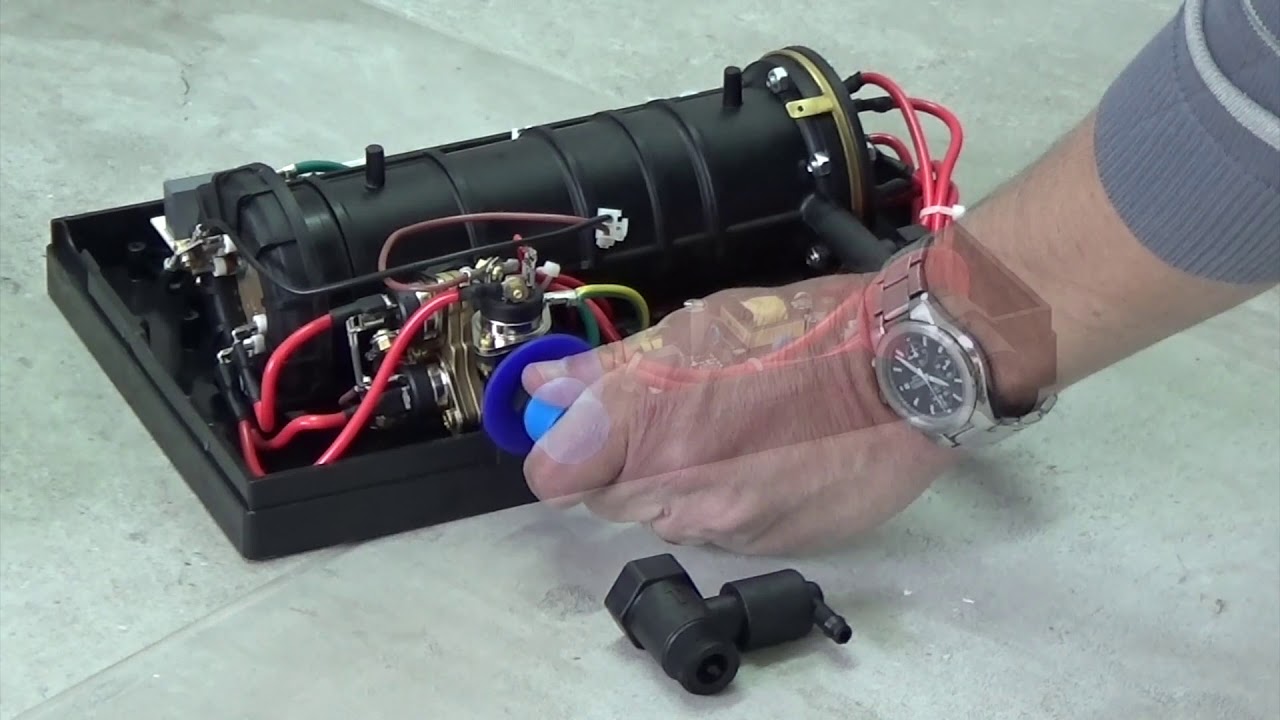
Credit: www.youtube.com
Mounting The Water Heater
Mounting the Atmor water heater requires careful attention to placement and secure installation. Ensure the unit is positioned near power and water sources. Follow instructions for attaching brackets and connecting pipes for optimal performance.
Mounting the water heater is a crucial step that sets the stage for a seamless installation process. Whether you’re a DIY enthusiast or a first-timer, correctly mounting your Atmor water heater can save you time, hassle, and even money in the long run. It’s not just about attaching it to the wall; it’s about ensuring stability, safety, and efficiency. Let’s dive into the nitty-gritty of how you can effectively mount your water heater to ensure it serves you well for years to come.Locating The Mounting Bracket
Your first task is finding the right spot for the mounting bracket. This isn’t just about aesthetics; it’s about functionality. Choose a location that’s close to your water source and electrical outlet to minimize the need for extensive plumbing and wiring adjustments. Consider the height—ensure it’s not too high for easy access during maintenance. Take a moment to reflect: is this location accessible enough if you need repairs or inspections? The right spot can prevent future headaches. Once you’ve pinpointed the ideal location, mark it with a pencil. This small action can prevent misalignment later on, saving you the trouble of redoing steps.Securing The Heater To The Wall
With the mounting bracket in place, it’s time to secure the heater. Align the heater with the bracket, ensuring it sits flush against the wall. Are you ready to drill? Double-check your measurements to avoid unnecessary holes. Use robust screws that can bear the weight of the heater. This isn’t just about holding the heater; it’s about ensuring it withstands vibrations or accidental bumps. Once secured, give the heater a gentle tug. Does it feel secure? If not, you might need to tighten the screws or check the bracket’s alignment. This simple step ensures your heater stays put and performs optimally. Mounting a water heater might seem straightforward, but each decision impacts its efficiency and longevity. How confident are you in your mounting skills? Taking the time to do it right can pay off handsomely.Connecting The Water Supply
Connecting the water supply for an Atmor water heater installation is straightforward. Start by ensuring all pipes are clean and secure. Attach inlet and outlet pipes to the heater, checking for leaks after tightening connections.
Connecting the water supply is a crucial step in the Atmor water heater installation process. It’s where your heater begins its journey to deliver hot water straight to your faucet. Understanding how to properly connect your water supply ensures efficient performance and prevents potential mishaps. Take a moment to ensure you’re getting this right. It’s easier than you think, and you’ll thank yourself later for paying attention to details.Attaching The Inlet And Outlet Pipes
First, identify the inlet and outlet pipes on your Atmor water heater. The inlet is typically marked for cold water, while the outlet is for hot water. Ensure you have the correct pipes ready. When attaching, make sure the connections are firm but not overtightened. Excessive force can damage threads, leading to leaks. Use adjustable wrenches for a secure fit. Consider using flexible pipes, as they make alignment easier. They also reduce stress on the connections, minimizing the risk of leaks.Ensuring Leak-free Connections
To guarantee leak-free connections, apply plumber’s tape or thread sealant on the pipe threads. This creates a tight seal and prevents water from escaping. Once everything is connected, turn on the water supply slowly and check for leaks. Look at joints closely. Are there drops forming? If yes, you may need to tighten the connections slightly. Don’t forget to check the pressure. Too much pressure can cause leaks or damage the heater. Adjust accordingly to maintain a steady flow. Have you ever tried this yourself? It might seem daunting at first, but with patience, you can master it. Properly connected pipes mean fewer problems down the line. Wouldn’t you prefer peace of mind over constant repairs? By focusing on these steps, you ensure your Atmor water heater serves you well. With the water supply securely connected, you’ll enjoy reliable hot water whenever you need it.Electrical Wiring Setup
Setting up the electrical wiring for an Atmor water heater requires attention to detail. Proper wiring ensures safety and efficiency. Let’s explore the steps to complete the electrical wiring setup.
Understanding Voltage Requirements
First, determine the voltage needed for your Atmor water heater. Most models operate on either 120V or 240V. Check the manufacturer’s specifications for accurate information. Using the correct voltage prevents damage and ensures optimal performance.
Connecting To The Power Supply
Once you know the voltage requirements, connect the heater to the power supply. Locate your main electrical panel. Turn off the breaker to avoid electrical hazards. Run cables from the panel to the water heater. Use high-quality wiring to ensure durability.
Securely attach wires to the heater’s terminals. Follow the manufacturer’s instructions for precise connections. Double-check all connections to avoid loose wires. Turn the breaker back on after completing the setup. Test the heater to confirm successful installation.
Testing The Installation
Testing the installation of your Atmor water heater is crucial. It ensures the unit is functioning correctly and safely. Each step confirms that the heater operates as expected. This process involves checking water flow and electrical connections.
Checking For Proper Water Flow
Turn on the water supply to the heater. Observe the flow from the faucet. It should be steady and consistent. Listen for unusual sounds. They may indicate a blockage or leak. Adjust the temperature settings. Confirm the heater responds correctly. The water should heat up quickly.
Verifying Electrical Connections
Ensure all wires are securely connected. Inspect for loose or exposed wires. They can cause malfunctions or danger. Use a multimeter to test voltage. Ensure it matches the specifications. Check the circuit breaker. It should not trip during operation. This confirms the electrical system is stable.
Safety Tips And Maintenance
Ensure safe Atmor water heater installation by following clear instructions. Regularly inspect connections and check for leaks. Maintain proper ventilation to prevent overheating and extend the heater’s lifespan.
Installing an Atmor water heater is a smart choice for efficient and instant hot water. However, safety and maintenance are crucial for ensuring optimal performance. By following a few simple practices, you can extend the life of your heater and keep your home safe. Let’s dive into some essential safety tips and maintenance practices to help you get the most out of your Atmor water heater.Regular Maintenance Practices
Routine checks can save you a lot of trouble. Inspect your Atmor water heater every three months. Look for any signs of wear or unusual noises. Clean the unit regularly. Dust and debris can accumulate and affect its efficiency. Use a damp cloth to wipe the exterior and ensure air vents are clear. Check the electrical connections. Make sure they are tight and free from corrosion. This prevents short circuits and potential hazards.Safety Precautions
Safety should always come first. Make sure your water heater is installed in a dry, well-ventilated area. This prevents moisture-related damage and overheating. Use the correct voltage. Double-check the electrical specifications and ensure your home’s system matches. This avoids electrical overloads. Consider installing a pressure relief valve. This is a small investment that prevents pressure buildup, protecting your heater from bursting. Do you know what to do in case of a malfunction? Always have a professional’s contact handy. DIY fixes can lead to more problems. By implementing these tips, you not only prolong your Atmor water heater’s lifespan but also ensure your family’s safety. Have you ever faced any issues with your water heater? Share your thoughts and solutions below!Conclusion
Installing an Atmor water heater simplifies your life. Enjoy instant hot water. No more waiting for the tap to warm up. Efficient and compact, it saves space and energy. Remember to follow the installation guide carefully. This ensures safe and effective use.
Seek professional help if you’re unsure. A little investment in time and care pays off. Enjoy hot showers and warm water whenever needed. With an Atmor water heater, comfort is always at your fingertips. Make the smart choice today for your home.